Simulators
After realizing that I've spent ~$350 on just my Quadcopter parts I was starting to get really nervous about actually flying this thing. When we started talking about racing we all were very nonchalant about the prospect of crashing. There was a lot of "dude we are going to be having some sweet crashes during the race!". At the time it sounded fine, but once I spent the money I was not as excited to "have a sweet crash".
So I started researching simulators. I used to fly RC airplanes and back then I had the Real Flight simulator. It was certainly not what I would consider "real", but hey this was 8 or 9 years ago. I hoped that the current simulators would have a bit more realism than the simulator I used way back then.
Since I have found so many helpful posts on http://blog.oscarliang.net/ I started there. Sure enough there was a great
post reviewing a bunch of the top quadcopter simulators. I suggest you read it if you want to get a complete picture of what the simulators today are capable of, and how they compare to one another.
After reading through the post I decided to go with FPV FreeRider.
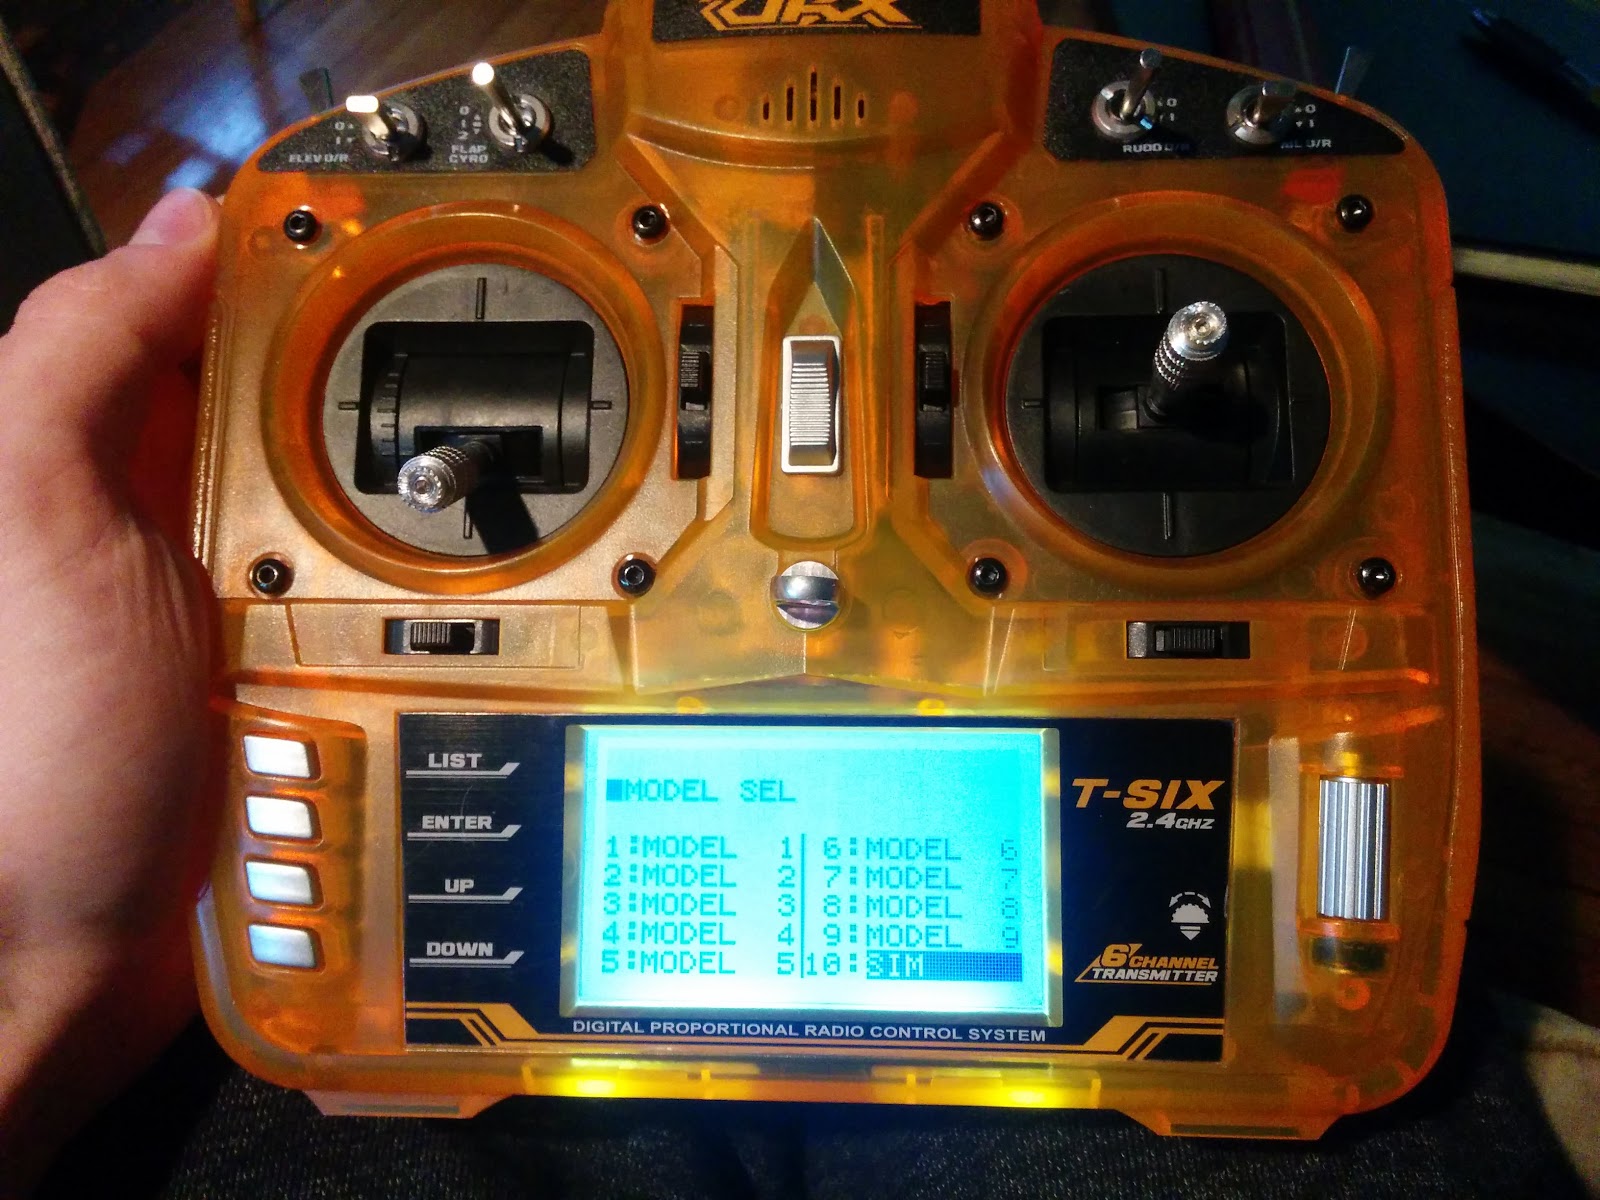
Why? Well, first off there is a demo ($5 for the full program). This is great because I bought the Hobby King Orange T-six transmitter, and while this does have a trainer/simulator port it need a PPM to USB converter in order to work with a simulator. I didn't want to buy a $100 simulator program just to find out I couldn't use my transmitter with it.
I bought this
Universal USB Flight Simulator FMS Cable Set to use with my transmitter. I tried it out and and of course it didn't work out of the box. The Orange T-six needs to have two of the pins be wired together in order for the transmitter to be put into simulator mode, see picture below.
So I cut the cable that came with the USB converter and found to my surprise that only two of the pins were wired up. Crap... So in order to get it to work I soldered a small piece of metal as far down in the s-video connector between the two pins as I could. Not optimal, but hey it works for now until I can get a proper s-video cable and solder it to the usb converter cable.
Back to the simulator. FPV FreeRider has been great so far. Obviously it is not ultra realistic, but for $5 for the full program, I didn't expect it to be. It work on windows XP through 10, Mac OSX, and Linux! It is very light weight with respect to system requirements (I can run it on my 10 inch Winbook TW100 from microcenter). You can even switch the camera view to FPV, which is great since that is how I will be flying my quad. All in all I really like flying in it and I think it is an invaluable tool for someone that has never flown quads before.
How to set up the Orange T-Six for Simulator Use
So in order to get the transmitter to work with the simulator there are some settings that need adjusted. Basically if you try and use the transmitter out of the box the controls are inverted, and offset really bad i.e. the quad is always at full thrust, rolled to one side, and spinning like crazy. The settings I have will stabilize all of that, but one side of the yaw and roll will be a bit faster than the other, oh well close enough.
First lets turn off that annoying beeping every time you do something.
First hit the List Button
Scroll to TX Settings
Turn Sound Mode to OFF
Next create a simulator model on your transmitter.
Hit the List Button
Then Scroll to and select FUNC. LIST
Choose Model Sel
Select 10 Model and wait for it to download
Rename 10 Model to "SIM" by hitting LIST Button
Select MODEL NAME and change name to SIM
Next set the type to ACRO by hitting the LIST Button and then going into MODEL TYPE and selecting ACRO
Next invert all the channels that are used for controlling the quad. (LIST-REVERSE-change N to R)
Next set the travel adjustment to the following values. (LIST-SETUP LIST-FUNCTION LIST-TRAVEL ADJ.)
Next use the following values in SUB TRIM. (LIST-SETUP LIST-FUNCTION LIST-SUB TRIM)
Next change the D/R&EXPO to the following values.
Finally use the black switches next to the control sticks to move the cursors on the main screen next to the plane to the locations shown in the picture.
What did all that do? Well the manual explains it kind of well, but here is the gist. Reverse obviously inverts the controls. Travel adjustment basically moves the neutral point of the control to the left or right (up or down) of where it currently is, in other words it is an offset. Same with Sub Trim and the little black switches next to the control sticks. The D/R&Expo is a little different. Dual Rate affects the overall travel which the control is allowed to use. For example you start at 100% thrust available, if you reduce the dual rate to 80% you now get 80% of thrust when you move the stick all the way up, not 100%. Exponential on the other hand is more like padding. It can increase or decrease the sensitivity around the center of the control stick. I reduced the sensitivity so that it is a little easier to control the quad.