Note: You should have the Flight Controller, Receiver, ESCs, Motors, and Power Distribution PCB all wired up before beginning the Setup Wizard.
Useful notes:
EMAX MT2204 motors they are sold in pairs, one clockwise thread for props with a silver prop nut, one counter clockwise thread for props with black prop nuts. Now here is the part that got me, the CW thread shaft, is on a CCW spinning motor! Obviously this makes sense if you think about it, BUT they don't tell you that on every website, and being a newbie I messed that up so my motors are mounted backwards... So in this case the CW in the motor title refers to the threads, not the direction the motor spins.

Clockwise Threads (CCW spinning motor!)

Counter-clockwise Threads (CW spinning motor)
First I decided to set up the flight controller (openpilot CC3D). Tried to get on the openpilot wiki for the documentation, and guess what? The wiki is down because they couldn't pay the bill... Not looking good for future support on this product...
Thankfully hobbyking did a tutorial on how to set it up.
First download the openpilot ground station here be sure to downloard release 15.02.02. 15.05.02 does not support the CC3D.
Then follow along with the tutorial here
Well obviously things won't work correctly and be easy :(. The CC3D will not upgrade firmware, I keep getting a timeout error. I am using my Mac, so I'll switch to windows and see if that makes a difference. Getting frustrated already with this thing.
The board is working though, I can see data coming back. So this post actually worked to get it connected on my windows 7 laptop
"Perfect thanks.. Plug in card (No GCS) and Right click on start > Control Panel > Hardware and Sound > Devices and Printers And right click on icon copter control Should look like the attached pic) and Remove Device then unplug CC3D
Start GCS > Firmware page click "Upgrade and Erase" plug in card and wait at least 2 min then unplug card and restart GCS and when you plug in the card this time I hope that you going to see the connection and you can run the wizard. Cross fingers and a little pray :)"
Simple instructions
- start up GCS, DO NOT HAVE CC3D board plugged in
- go to firmware tab
- hit the upgrade and erase button (it will not find the board and give you 20 seconds to plug it in)
- Plug in board before 20 seconds is up
- Board will be recognized and firmware will be upgraded
Very surprised and happy that it worked haha.
After that upgrade on the windows 7 machine, it worked as soon as I plugged it into my Mac. Another card failed on my Mac so I repeated the above procedure with it and it worked like a charm. Looks like they have a bug in their ground station software where it will not see the board when you push upgrade if it already is plugged in, but if it is not plugged in and it is waiting for you to plug it in it will work.
When you have successfully updated the firmware you will see a screen like below.

Onto the setup wizard!
Made it to the next screen before I hit another snag. Apparently the OrangeRx R615X uses CPPM not PPM output, and of course the CC3D has PPM, not CPPM as an option. It is unclear if CPPM will work with PPM, so I will have to do some more research. I chose PPM for now.
For multirotor configuration I chose Quadcopter X.
For the ESC setting this page states EMAX SimonK 12A ESC should be set up with 490Hz
Here is my generated connection diagram.

So in the above picture you want to put a CCW thread black prop nut (CW spinning motor) in position 1. Same with position 3. You want to put a CW thread silver prop nut (CCW spinning motor) in positions 2 and 4.
Next I calibrated the sensors.
Well I need the ESCs connected for the next part so I guess I need to build up the quad now.


Jumping back to the CPPM question quick according to the hobbyking video the flight controller will be able to detect CPPM. So hopefully that is the case. At the end of a tutorial they say to use PWM, not PPM. So I used PWM and it worked so I guess PPM might work, but PWM does for sure.
Wiring from Flight Controller to Receiver. Used the following description and picture.
"Yes, that one, first is the plug with 3wires white red and black, signal white to the top of the rx, this goes to throttle, then blue the alei,yellow to elev, green to Rudd, brown to gear and purple to aux, all these must be at the top"

for Orange R615X see wiring pic at end of post
Next I plugged the Flight Controller back into the computer using the USB cable.
Next I need to Bind my Transmitter TX to my Receiver RX. Making sure that the bind jumper is plugged in, if it is not the RX will not turn on, also the CC3D needs to be powered from battery, not from USB. When powered from USB the 5V out to the RX is disabled.
When wiring up the motors you can wire the three motor wires to the three ESC wires in any order, when you check that they are spinning in the right direction as part of the GCS setup wizard if they are spinning in the wrong direction you simply swap any two of the wires and they will spin the opposite way.
One thing that they don't go over is setting up the flight controller offset if you rotated it like I did to have access to the programming port on the side. Adjust the setting in the screen below to whatever rotation you have.

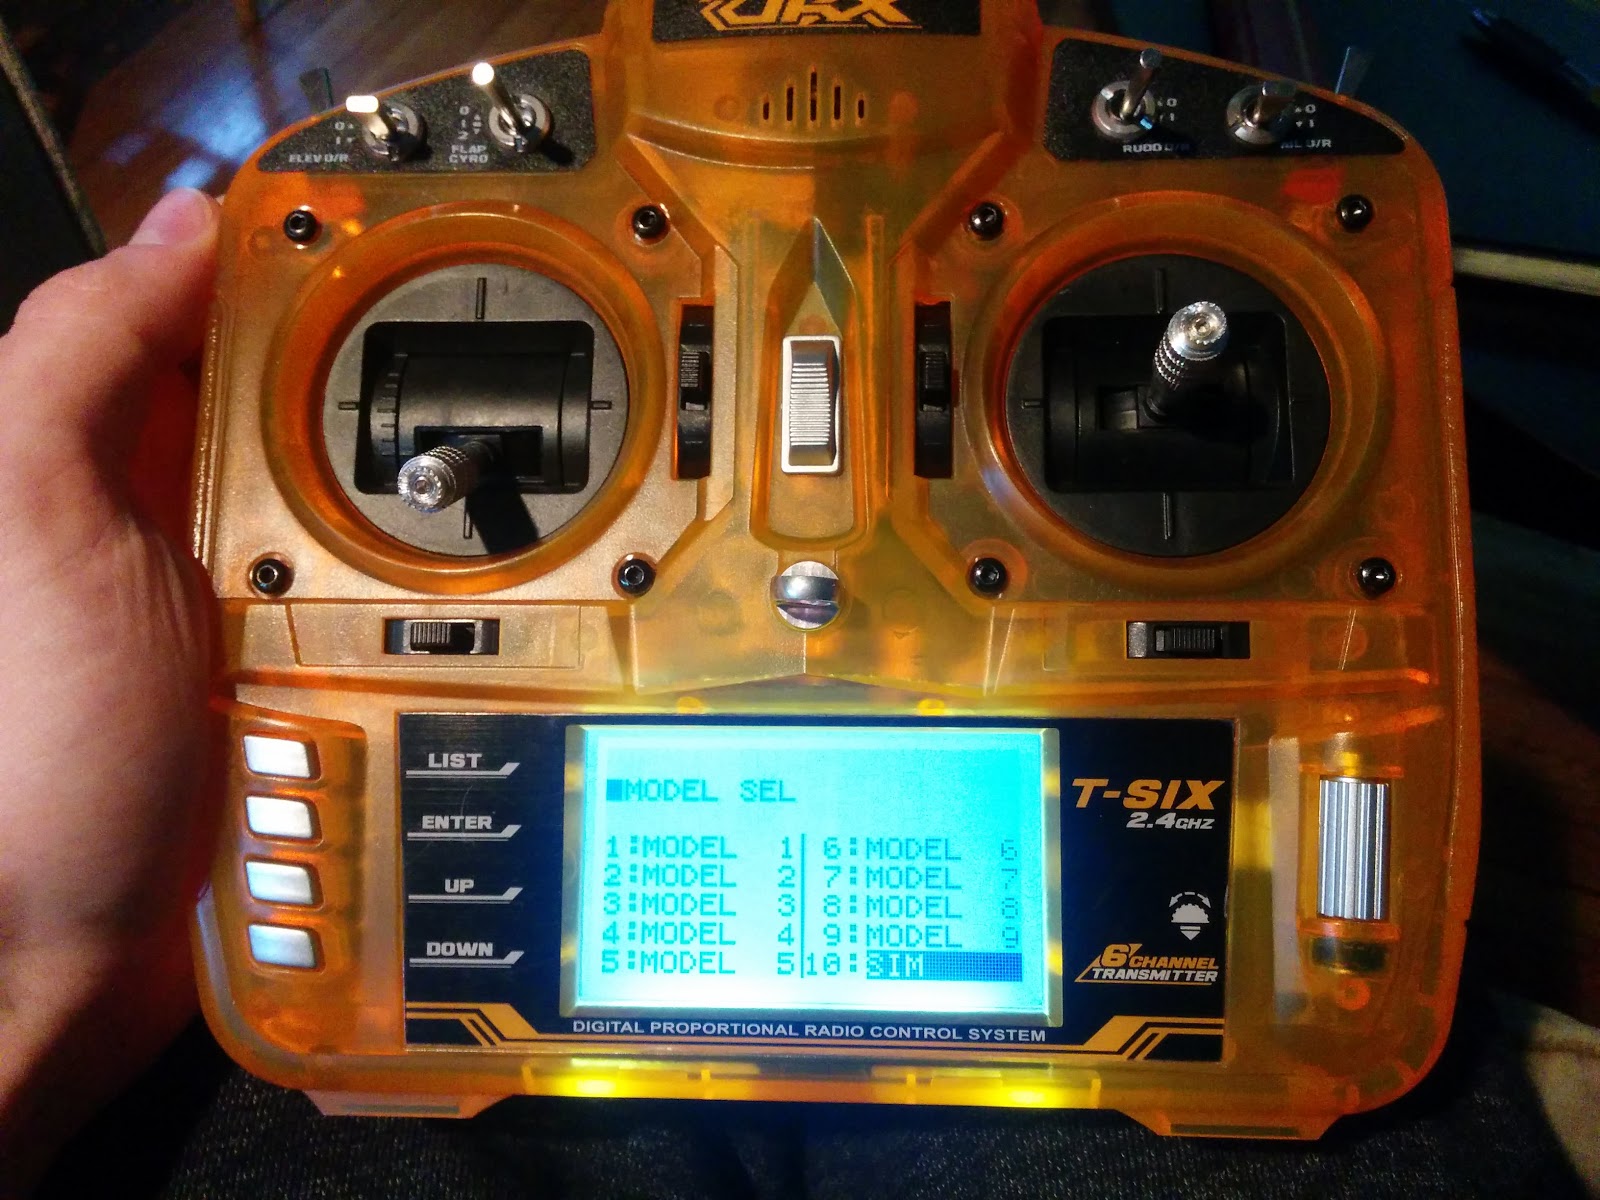
The other setting that you have to be aware of is the flight mode setting. See this post for a description of flight modes. There is a switch on the Orange T-Six transmitter which is mapped to these three flight modes. When the switch is down it is in flight mode 1, middle flight mode 2, up flight mode 3. For a beginner you want to be in flight mode 1.

After setup (arm is set to throttle down and roll right) I tested out the TX and RX and everything worked as it should :).
To arm you have to hold right roll for a few seconds. If you have the ground station software open and connected to the CC3D it will audibly tell you that it is "ARMED"
All other settings were default.
Wiring Up

My wiring schematic
Another challenge has been figuring out how to wire everything up. First thing I learned is that the Electronic Speed Controller I have (EMAX SimonK 12A) has a BEC. What is a BEC you ask? Check this page out. So basically it is a battery eliminator circuit, which in simple terms means that 1) it has a voltage regulator that will drop the battery voltage down to 5V and in my case supply up to 1A to the flight controller or receiver, 2) it will shut power off to the motors when the battery reaches a certain low voltage, but will continue to deliver power to the control surfaces so that you can land your model (this is only useful if you are flying a plane since cutting the power to the motors on a quad will cause it to drop out of the sky like a bat out of hell). Anyway this confirms that I can power the CC3D flight controller off of the ESC.

I rotated my flight controller so that the usb port is facing out the left side of the quad.


I know some people say you have to cut the red wires from the other ESCs so you only power the flight controller from one ESC. Is that necessary? Well if the flight controller board doesn't do something smart then you would have four voltage sources in parallel. As anyone familiar with Kirchoffs Voltage Law knows voltage sources in parallel will violate the law that all voltages around a loop must sum to zero if the voltages are not EXACTLY the same. I'm sure that the ESC voltage regulators do not supply the same voltage, so I really should remove the other three voltage wires. See this post for more discussion on the topic.