So I kind of built it before posting anything... Sorry. It has been crazy the last few weeks, which is partly why it has not gotten finished before now and partly why I have not posted anything while I was building it.
Also this is a good
resource for micro quad stuff
Bill of Materials
Hardware
Read through all notes in this section before assembling/soldering things.
I suggest you assemble the quad without cutting wires first, then measuring wires to make your connections to the flight controller board, battery, etc. You don't want things to be too short or too long.
NOTE: Do not put the male JST on the flight controller (FC) board (as shown in this picture). Use the Female JST.
NOTE: Do not put the female JST on the battery (as shown in this picture). Use the male JST.
What the V1 quad looks like when assembled
Motor layout. You want the red/blue motors diagonal from each other, and the white/blue motors diagonal from each other.
Video System
Be extremely careful soldering to the video transmitter. The pads can get to hot and rip off really easily.
Camera wiring. The camera antenna wire is just motor wire (the red on the wire is insulation). Cut it to be exactly 12.92mm (this is the length needed for 5.8GHz)
The bulge on the red wire in the above picture is the video TX diode mentioned in the BOM above. This is required so that you can fully charge the flight battery and use it with the video transmitter (we are dropping voltage across it so the video TX doesn't get to hot). The video TX requires 3.3V and the battery is 4.2V fully charged. The diode has a forward voltage drop of 0.36V so the voltage that the video TX gets when the battery is fully charged is 4.2V-0.36V = 3.84V. This is still high, but it can handle it. Install the diode with the anode on the battery side of the red wire and the cathode on the video TX side of the red wire (so current flows).
I hot glued wires down to prevent then from ripping off and to add some strain relief.
Use some hotglue if the motor feet or the FC holder feels too lose. If the motors feel to loose you can add a little hot glue to the outside of the motor where it meets the 3D printed material.
Calibrate the Electronic Speed Controller
There are videos on youtube, but they all stink and don't really show you how to do it for our boards. If your motors all start to spin at different times then we will have to calibrate the ESCs. We can figure it out when the time comes.
Software
First download MultiWii GUI from my
github
next download the arduino code from my
github
I don't think it actually matters what screen you are on in arduino when you upload the code, but I am always on the multiwii.cpp
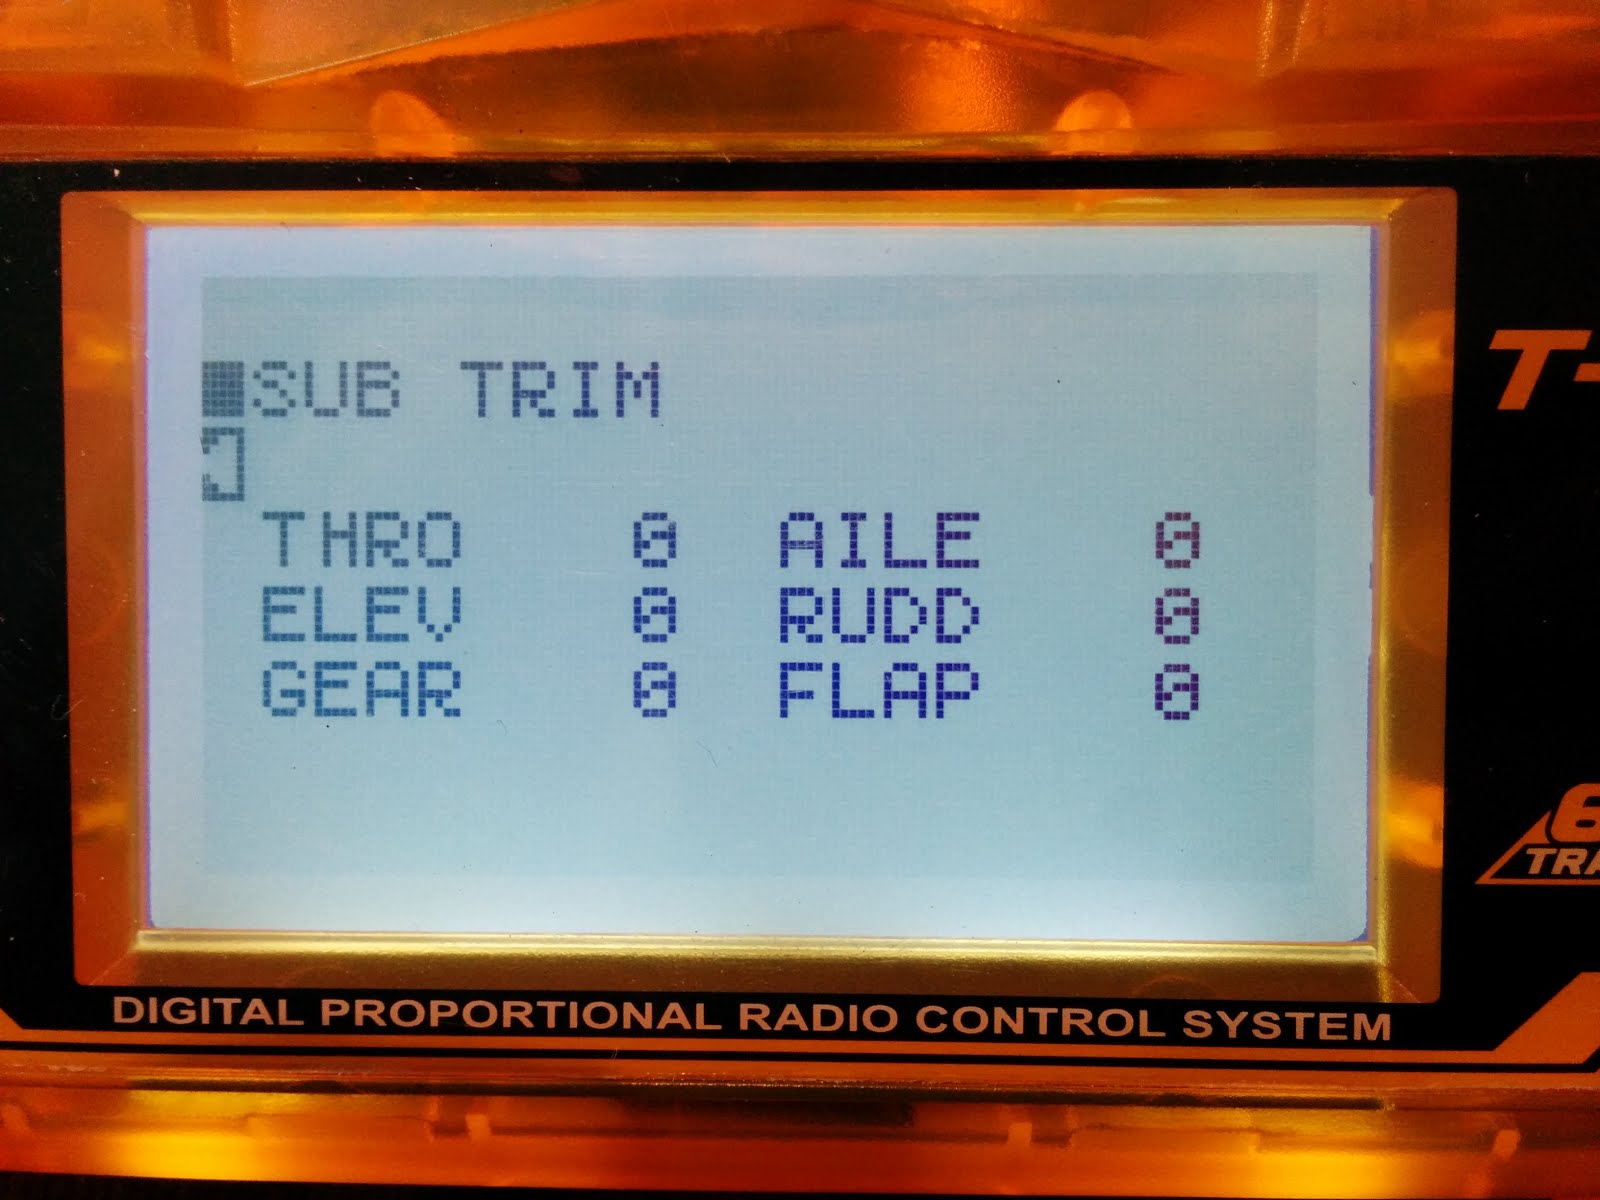
After uploading the code you can use the GUI for final configuration (the video does a pretty good job explaining how to set things up). I set my quad to arm/disarm with an aux switch on my Orange T-six transmitter.
Arduino IDE Settings
Use the pogo stick after the code has compiled and is attempting to upload. The ftdi programmer red and green leds should start flashing fast and you should see an uploading notification in the arduino console.
Transmitter
I created a miniquad profile on my Orange T-Six for this quad so that it is different than my large quad. I suggest you do the same.
Settings
ESC Calibration
Config.h is where the code you must uncomment is located.

https://www.youtube.com/watch?v=eA8jjCqbKZY